1. Overview
As of today, all image uploads must be done strictly from Q-Storage.
Every hotel includes 200 MB of storage by default.
⚠️ Important: ALWAYS UPDATE THE Q-Data section first, then upload the images.
2. Visibility for Clients
Not visible to clients
-
Section Buckets
This area is not visible to clients.
Visible to clients
The only folders your clients can see are:
-
Image Gallery
-
This is the main area for image uploads.

-
Each dialog will have its own bucket.
-
-
All Images
-
Dedicated for OTA Distribution.
-
It does not affect your daily procedure for now, until we officially launch this product.
-
-
Archived Images
-
Restricted to deleted images.
-
Example: If you delete a restaurant or room in Q-Data, the related images are moved to the Archived Images folder.
-
3. Inside the Image Gallery
Within Image Gallery, you may see:
-
“10-02 - Stars & category” folder
-
This folder is never shown in the widget.
-
It is strictly reserved for additional property images that don’t fit in other dialogs, such as:
-
Bird’s-eye or drone images
-
Hallways
-
Reception
-
Garden
-
Public areas
-
-
-
Q-Hub Attachements
4. Best Practices (What You Should Focus On)
In simpler terms:
👉 Focus all your efforts on the Image Gallery section.
You should:
-
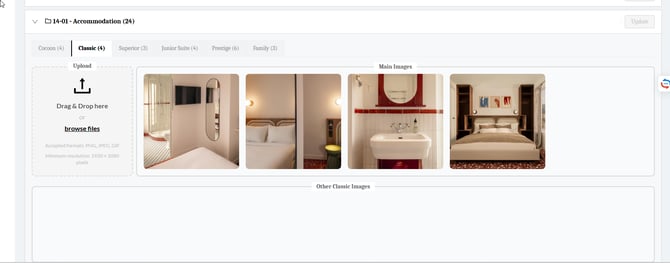
Fill in all buckets (each dialog, tab, room, etc.).
-
Use the correct formats and resolution:
-
Accepted formats: PNG, JPEG, GIF
-
Minimum resolution: 1920 × 1080 px
-
-
Aim for ideally 5 images per dialog, tab, room, etc.
-
Use drag and drop to sort and reorder images.
https://jam.dev/c/ca2015d0-a41b-4d32-8acc-6ad4550bac70 -
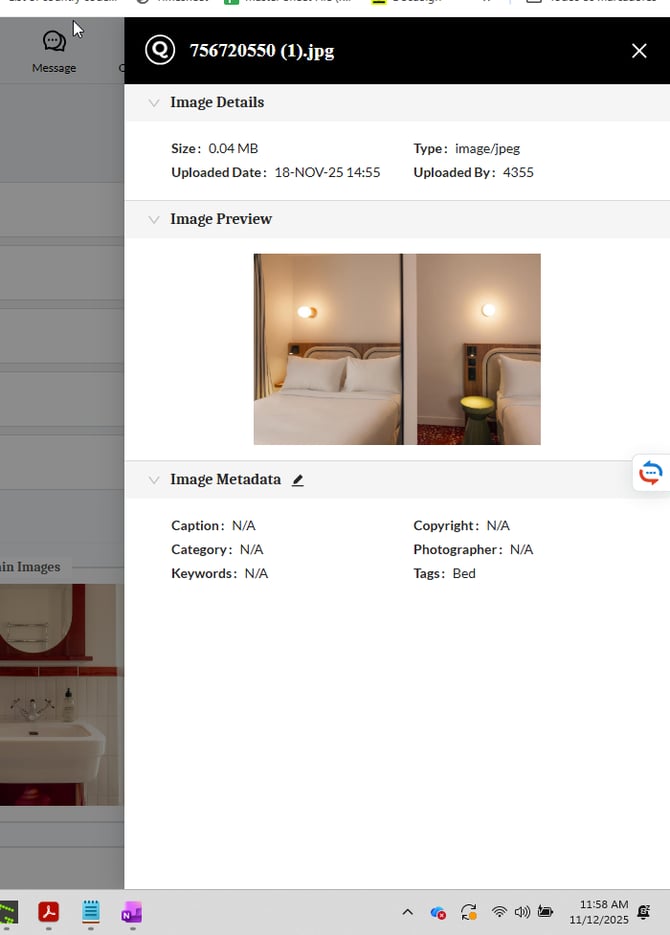
Understand that Meta-Data edits are:
-
Optional
-
Reserved for OTA Distribution features.
-